
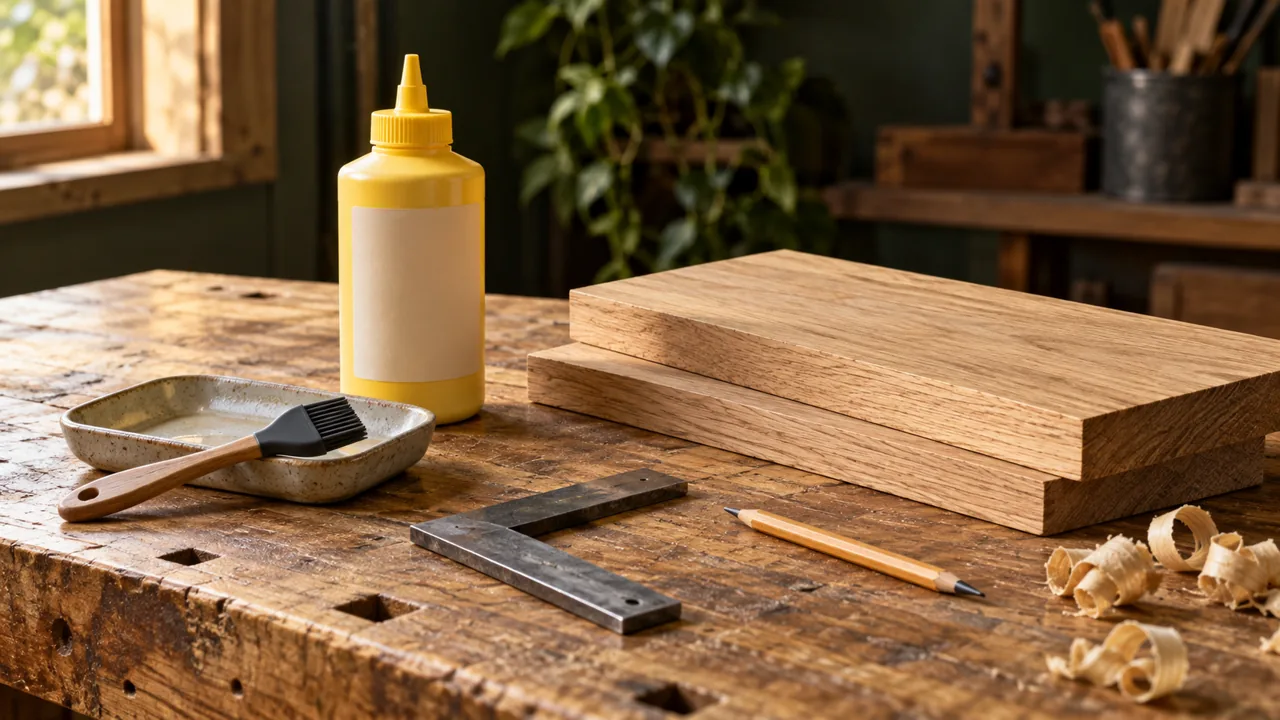
A box-joint glue-up should feel like a rehearsal you have already completed. The parts have names, the clamps are within reach, and nothing depends on a last-minute adjustment. If your next project includes a drawer or a small cabinet, use the dry fit to solve problems while you can still take everything apart.
The interlocking fingers create the joint’s familiar pattern, but appearance alone does not establish a good fit. Woodcraft’s box-joint guide explains why both loose joints and joints that need excessive force can cause trouble. Glue is no substitute for correcting either problem.
Start With A Complete Dry Fit
Lay out the actual project parts and assemble them without adhesive. Look along each corner and check whether the shoulders meet consistently. Pay attention to a corner that closes differently from the others: identify the cause before accepting it as close enough.
Keep a pencil nearby and record what needs attention. A short note such as “check this corner” is more useful than relying on memory after you have moved the pieces around. Mark mating parts where the marks will not become an unwanted feature of the finished project.
Use Test Pieces Before Project Parts
If the fit needs correction, return to the instructions for your particular jig and cutting setup. Avoid borrowing an adjustment direction from an unrelated jig: the important result is a repeatable fit, not a universal instruction to move something left or right.
Make adjustments on matching scrap before cutting more project parts. Keep the successful sample beside the work as a reference. This also gives you a place to try your assembly sequence without risking the drawer or cabinet you intend to keep.
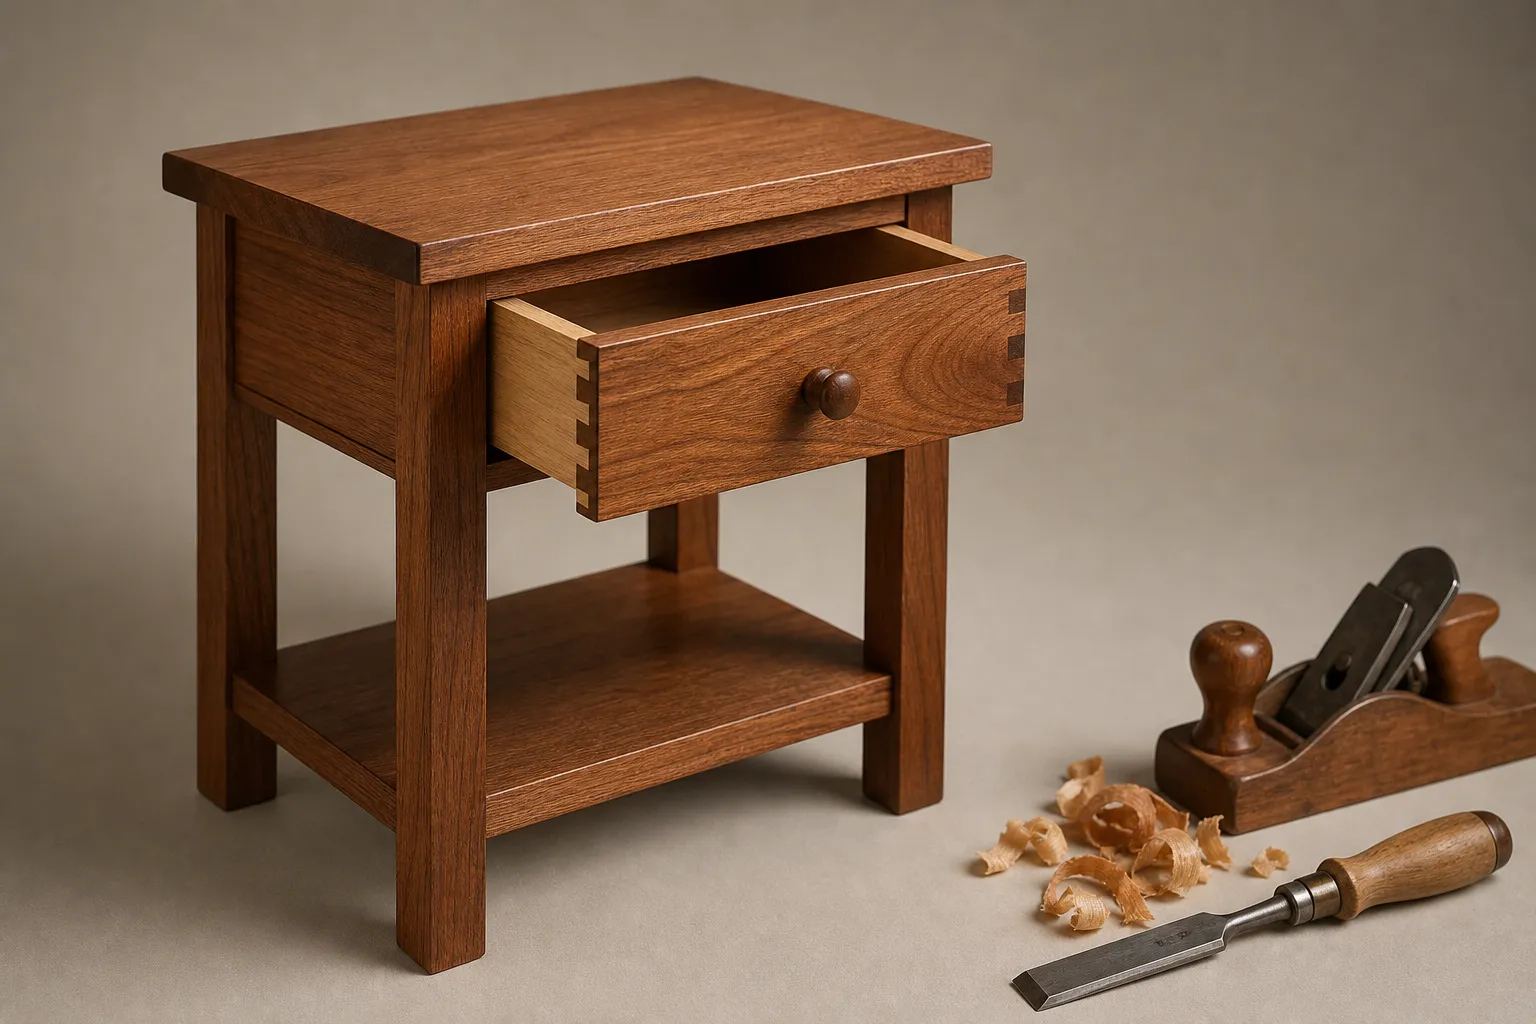
Prepare The Bench Before Opening The Glue
Arrange the pieces in assembly order and put the tools you expect to use within easy reach. Check that you can position your clamps without having to clear another project off the bench. Rehearse the entire sequence, including how you will check the assembled corners.
Decide where the assembly will rest afterwards. Moving other tools, answering a phone, or hunting for a square is an avoidable interruption. A tidy work area does not guarantee perfect joinery, but it makes the next action easier to see.
Choose Supplies For The Actual Job
Follow the adhesive manufacturer’s directions for your materials and conditions. Titebond’s guidance distinguishes clamping from allowing a new joint to develop strength; removing clamps does not automatically mean the assembly is ready for its next demanding operation. Check the label rather than using a timetable remembered from a different glue.
As an Amazon Associate I earn from qualifying purchases.
Useful Glue-Up Supplies
Compare these options with the needs of your project and follow the current manufacturer’s directions.
Adhesive
Titebond Original Wood Glue
An adhesive option to compare for your indoor woodworking project. Check suitability before use.
Affiliate link
Applicator
Rockler Silicone Glue Brush
A reusable applicator with a paddle end for fine-detail work. Review Rockler’s product details.
Affiliate link
Put The Rehearsal To Work
Before committing, ask yourself: can I assemble these parts in order, reach every clamp, and check the corners without improvising? If the answer is uncertain, repeat the dry fit. That small pause is cheaper than repairing a rushed assembly.